The e-commerce checkout abandonment problem can be frustrating, but it’s a solvable one. By using a two-part strategy, preventing customers from leaving in the first place and winning back those who do, you can significantly increase your sales.
Did you know? The average online shopping cart abandonment rate is 70.19%, according to Baymard Institute, but the good news is that this issue is manageable with the right strategies.
The key isn’t just knowing what to do, but how to do it with the help of modern tools without being a technical expert. This guide will show you how to execute a complete plan using accessible tools and features.
In a Nutshell: Reducing Checkout Abandonment
|
Part 1: Prevention – Optimizing Your Checkout Process
The goal here is to make checkout so seamless that customers don’t have time to second-guess their purchase.
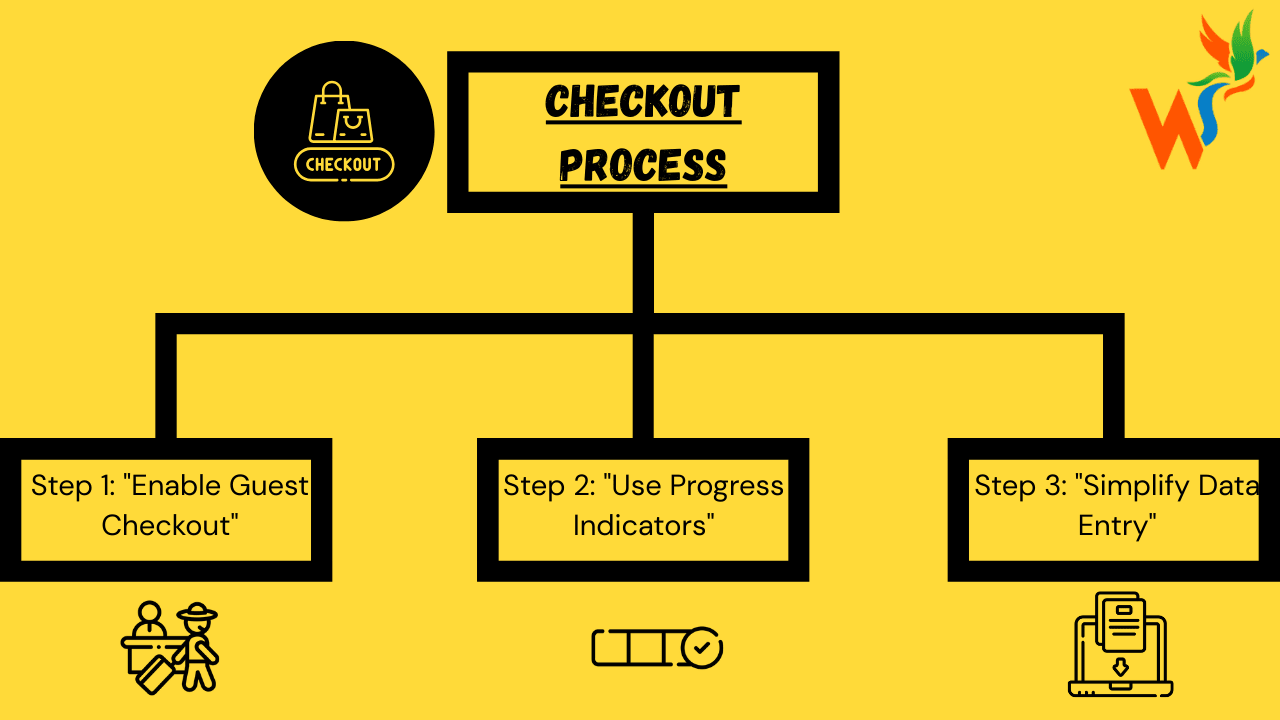
1. Streamline the Checkout Process
A complicated checkout process is the number one reason shoppers leave.
- Enable Guest Checkout: Don’t force customers to create an account before they buy. In your e-commerce platform’s settings (e.g., Shopify, Squarespace, WooCommerce), navigate to “Checkout” or “Accounts.” Find the option to enable guest checkout or disable mandatory account creation.
- Use Progress Indicators: A visual progress bar helps customers see the finish line. Many modern e-commerce themes include a visual progress bar. If yours doesn’t, go to your platform’s app store and search for “checkout progress bar.” You can install a plug-and-play app in minutes.
- Simplify Data Entry: You don’t need to be a programmer to do this. Modern platforms and payment gateways (like Stripe or PayPal) automatically support browser autofill for addresses and credit cards. They also handle dynamic keyboards on mobile (e.g., showing a number pad for a credit card field).
2. Be Transparent About All Costs
Nothing kills a sale faster than an unexpected fee. Be clear about all costs from the beginning.
- Show Costs Upfront: In your store’s “Shipping” and “Taxes” settings, configure your rates. Your e-commerce theme will then automatically calculate and display these estimates on the cart page, long before the final payment step.
- Offer and Promote Free Shipping: To create a free shipping rule (e.g., “Free shipping for orders over $50”), go to your shipping settings and add a new rate based on order value. Then, use your theme’s built-in “announcement bar” or banner feature to promote this offer on every page of your site.
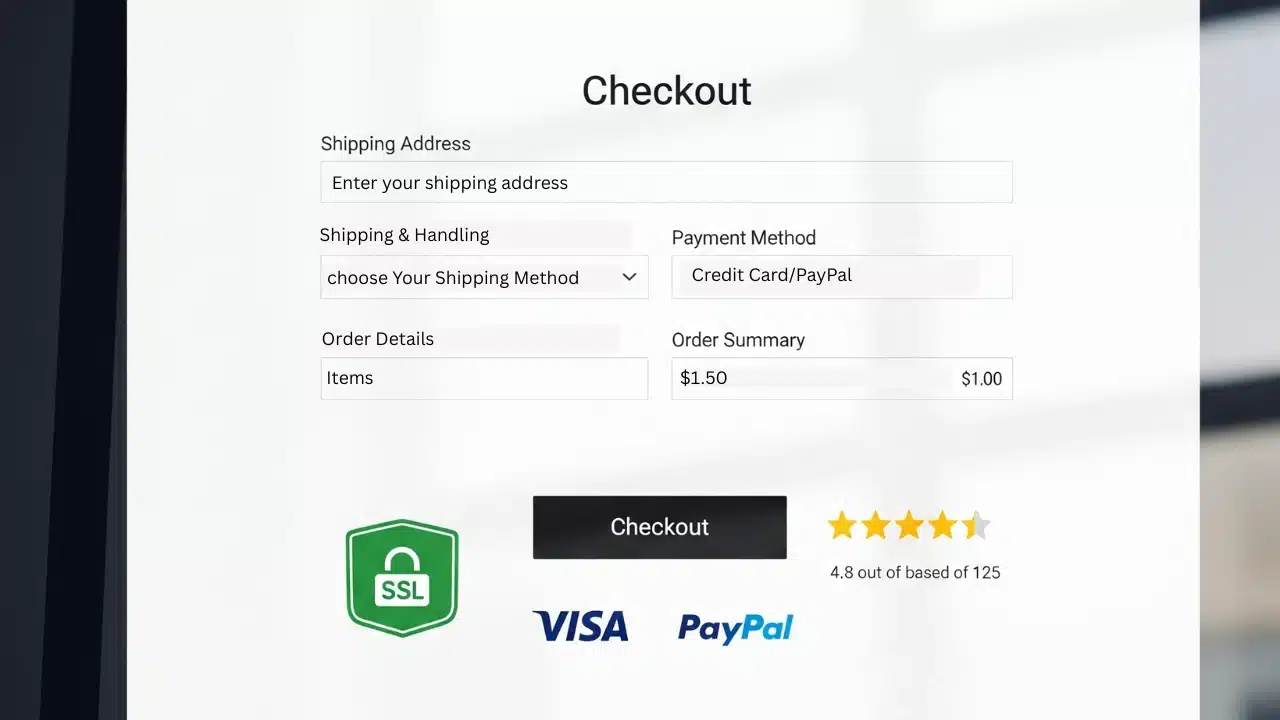
3. Build Trust and Provide Reassurance
Customers need to feel confident that their information is secure and that they can trust your brand.
- Display Trust Signals:
- Security Badges (SSL): Most platforms include this automatically. You can find “trust badge” apps in your app store to add visual logos like Norton or McAfee.
- Payment Logos (Visa, PayPal): Your theme usually has a footer section where you can easily enable the logos for the payment methods you accept.
- Feature Customer Reviews: Install a review app like Yotpo, Loox, or Judge.me. These apps integrate seamlessly, automatically email customers to ask for reviews, and give you simple widgets to display them on your product pages.
- Provide Live Chat Support: Sign up for a service like Tidio, LiveChat, or HubSpot. These services provide a simple code snippet to copy and paste into your store’s settings. A chat widget will instantly appear on your site, which you can manage from a simple dashboard.
4. Enhance the Overall Experience
A smooth, worry-free shopping experience can prevent a lot of second thoughts.
- Offer Multiple Payment Options: When setting up your store’s payment gateway (like Shopify Payments or Stripe), you can easily enable various trusted methods such as digital wallets (Apple Pay, Google Pay) and “buy now, pay later” services (Klarna or Affirm) by simply toggling a switch.
- Optimize for Mobile: Simply choose a modern, reputable theme from your platform’s theme store. All modern themes are “responsive” by default, meaning your checkout pages will automatically adjust to look great on any device.
- Display a Clear Return Policy: In your store’s dashboard, create a new page just like you would an “About Us” page. Title it “Return Policy” and write out your terms. Then, go to your “Navigation” settings and add a link to this page in your website’s footer menu. A prominent and hassle-free return policy builds customer confidence.
Phase 2: Recovery (Automated Remarketing)
Even with a perfect checkout, some people will abandon the carts. That’s where automated campaigns come in to win them back.
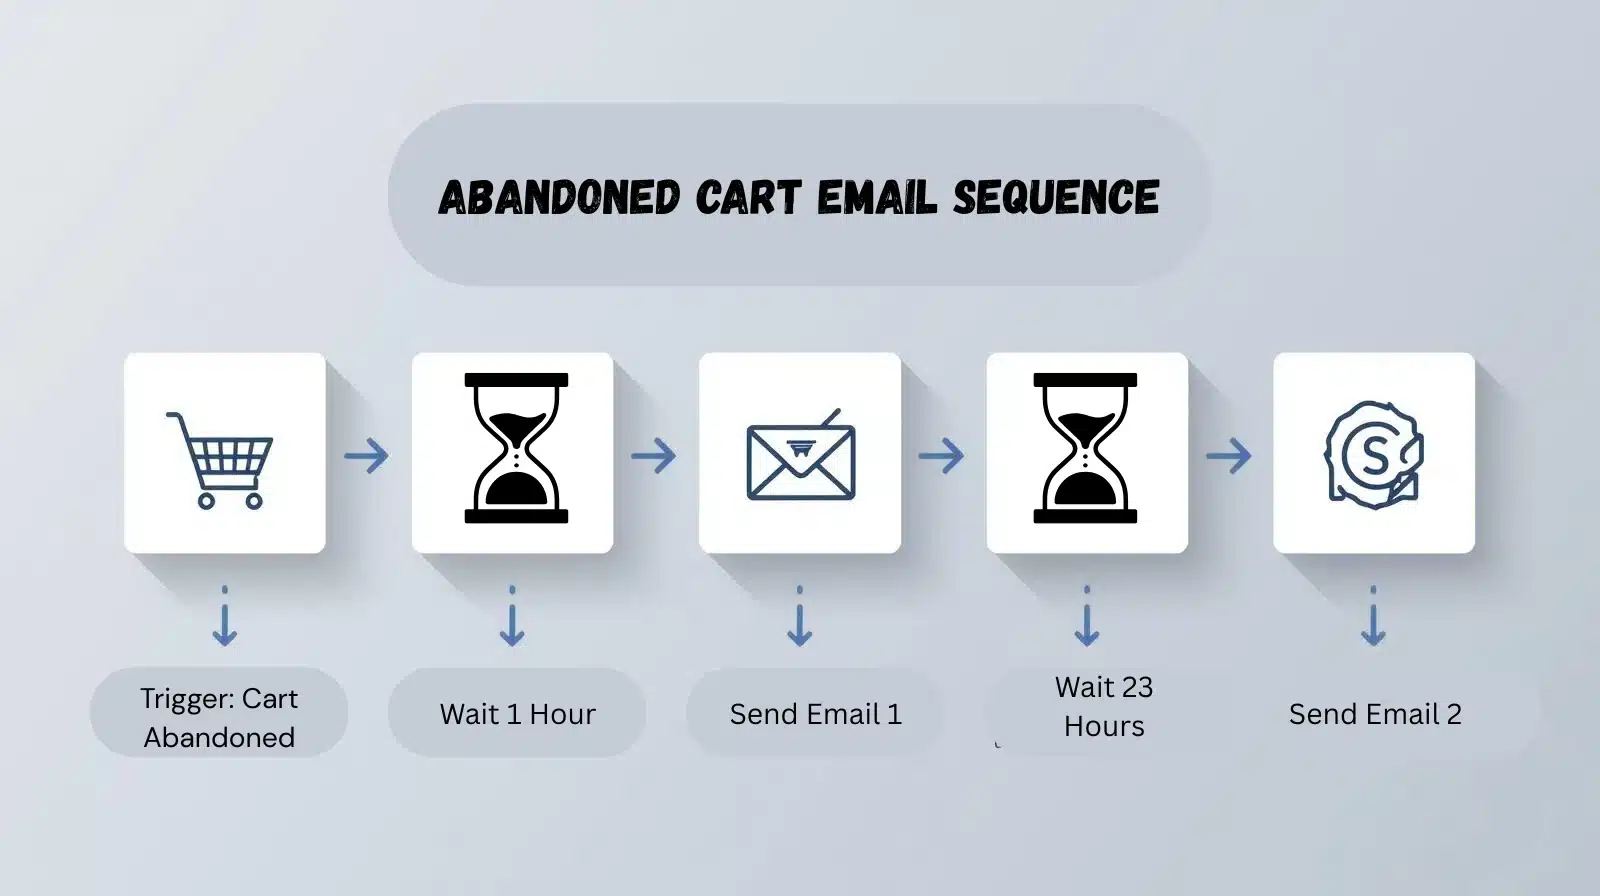
1. Win Back Customers with Automated Emails
An automated email sequence is the most effective way to recover lost sales.
- Set Up an Email Sequence: The easiest way to do this is to use your e-commerce platform’s built-in abandoned cart recovery feature. For more control, use a dedicated email marketing tool like Klaviyo or Mailchimp. You can then use their visual, drag-and-drop workflow builder to create a sequence like: Trigger: Cart Abandoned -> Wait 1 Hour -> Send Email 1 -> Wait 23 Hours -> If No Purchase, Send Email 2 (with discount).
- Personalize and Incentivize: Use the customer’s name and include high-quality images of the items they left behind. A strong call-to-action button should link directly back to their cart. Consider offering an incentive like a discount or free shipping in a later email, not the first, to avoid training customers to abandon their carts just for a coupon.
2. Deploy Retargeting Ads
Use ads to remind customers about your products as they browse other websites and social media.
- Integrate with Facebook/Google: In your store’s “Marketing” or “Integrations” section, connect your Facebook Ads account. This automatically installs the necessary tracking pixel. In your Facebook Ads Manager, create a “Dynamic Product Ad” campaign. Facebook will automatically pull your product catalog and show the right items to its potential buyers. No manual ad creation per product is needed.
- Create Urgency: Use ad copy that creates a sense of urgency, such as “Limited stock available!” or “Your items are waiting!”
3. Use Pop-ups and Notifications
A last-minute reminder can sometimes save a sale.
Launch Exit-Intent Pop-ups: Search your platform’s app store for “exit-intent pop-up.” These apps provide user-friendly visual editors to design your pop-up and set the rules (e.g., “trigger when the mouse moves to close the tab”). You can offer a discount, ask for an email, or remind them that their cart is saved.
Send Push Notifications: If customers have opted in, you can send instant reminders to their devices.
4. Gather Feedback for Continuous Improvement
Don’t just recover sales, learn why they were lost.
- Ask Why They Left: Create a simple, one-question survey using Google Forms or SurveyMonkey. Include the link in your recovery emails with a question like, “Help us improve! Was there a reason you didn’t complete your purchase today?”
- Watch User Sessions: Use a tool like Hotjar or FullStory. These services provide “session recordings”, video-like replays of what users actually do on your site. By watching a few recordings of abandoned checkouts, you can literally see where they get stuck, confused, or frustrated. This is the most powerful, non-technical way to find and fix problems.
Putting It All Into Practice
Handling checkout abandonment doesn’t require you to be a technical wizard. By leveraging your e-commerce platform’s built-in features and using user-friendly apps and marketing tools, you can put this entire plan into action without any coding.
In fact, Omnisend’s marketing report has shown that automated campaigns, like abandoned cart emails, can be incredibly effective. Automated emails alone drove 37% of all sales, despite accounting for just 2% of total email volume, highlighting how automation can significantly improve your recovery rate and boost conversions.
The key is to focus on your content and strategy, and let the software handle the rest. Start with the low-hanging fruit, like enabling guest checkout and setting up a basic abandoned cart email, and build from there.